How to Photograph a Kitchen So It Looks Bright, Clean, and Expensive
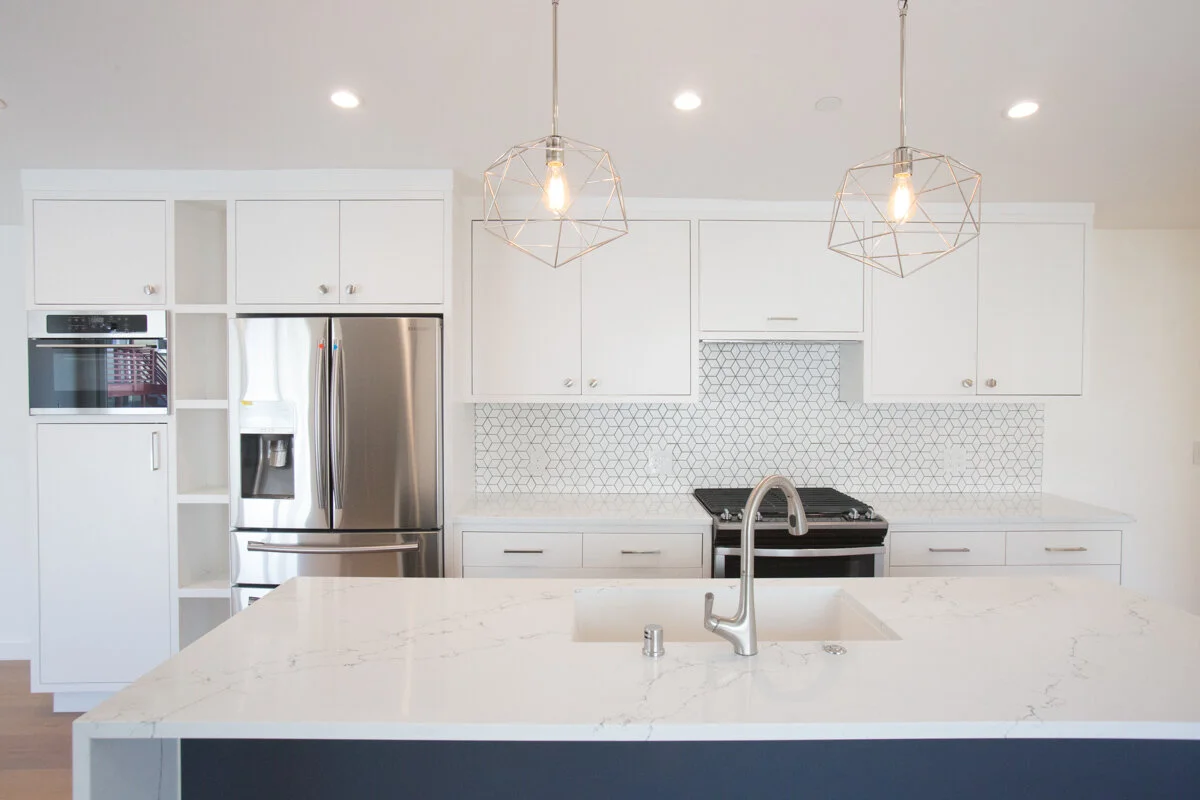
Kitchen photos do a lot of heavy lifting. When they feel bright and put-together, buyers assume the home has been cared for. When they look dim, cluttered, or oddly colored, people scroll past faster, even if the upgrades are real in person.
The good news is you do not need perfect staging to get strong results. You need a quick reset, clean light, and angles that help someone understand the space without feeling tricked.
In this blog, we are going to study how to prep and photograph a kitchen so it reads premium online, where these images actually get used (MLS, Zillow, Redfin, email blasts, social), and which small choices usually make the biggest difference.
If you’re investing in Real Estate Photography San Francisco, kitchen clarity can be the difference between “nice” and “let’s book a showing.”
Clear The Surfaces
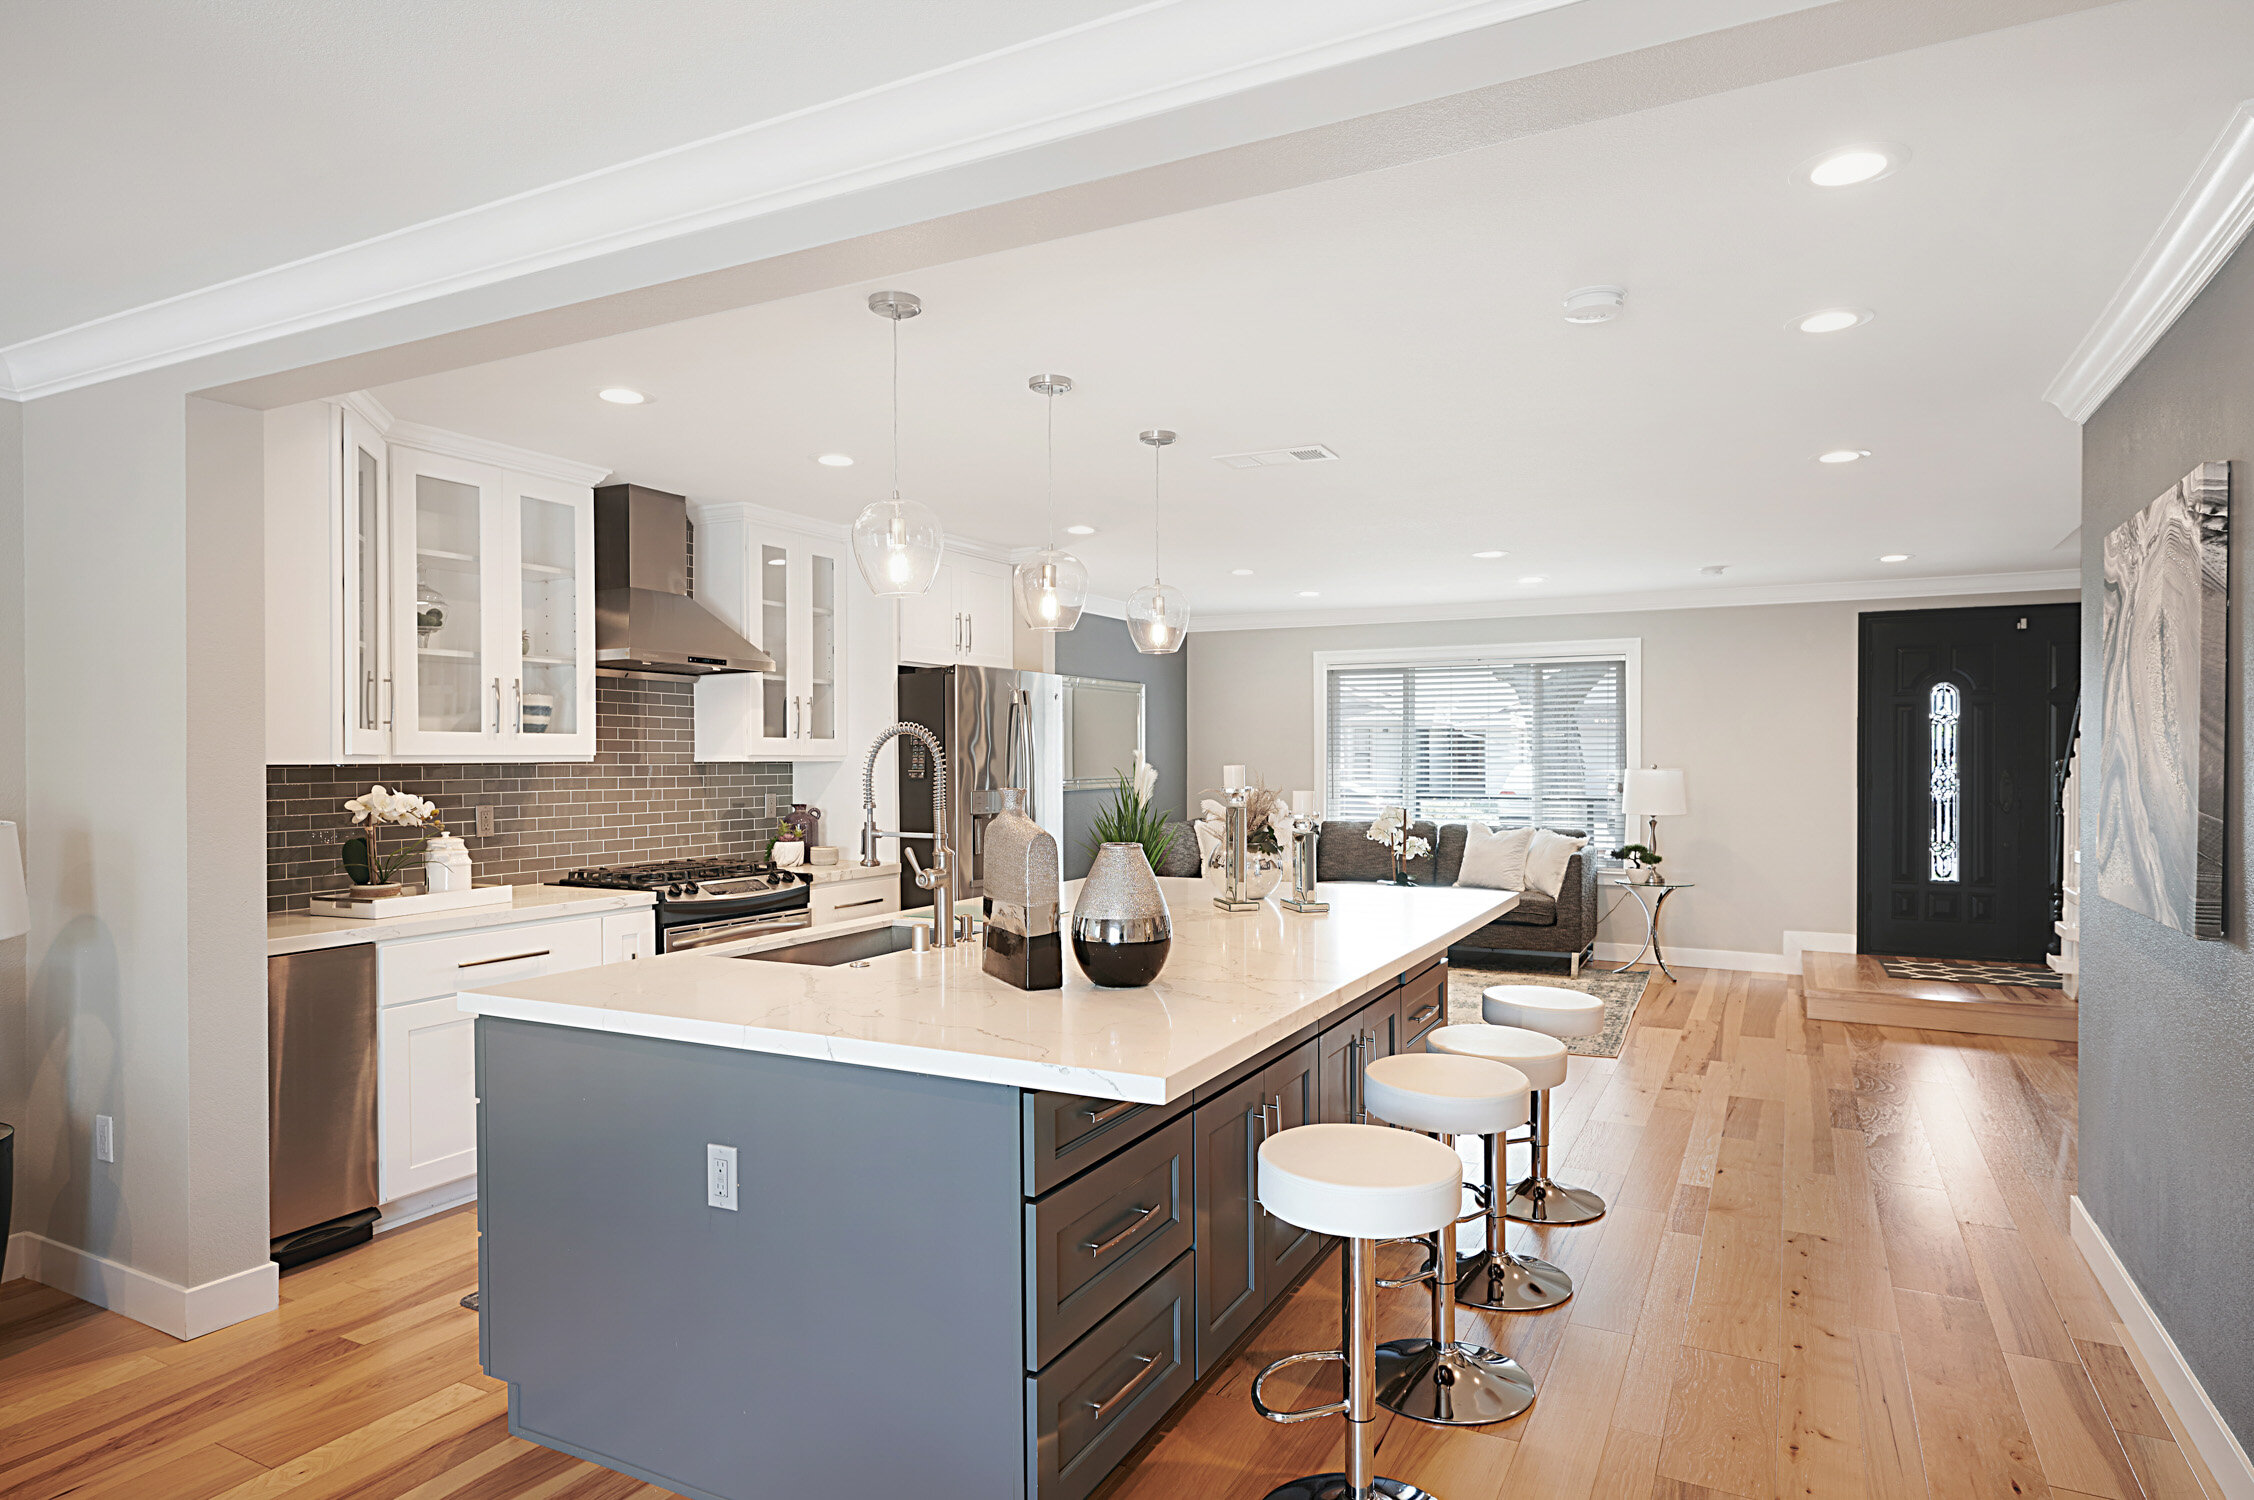
A kitchen can be spotless and still photograph “busy.” The camera loves to grab onto little things along the backsplash and corners of counters, and suddenly the eye has nowhere to rest. Aim for “ready for a magazine shoot,” not “normal daily life.”
A quick reset that almost always helps:
Remove mail, keys, bottles, sponges, and dish racks
Leave one intentional item per zone, like a bowl of citrus or a small plant
Hide cords, chargers, and small appliances that crowd the back edge
Straighten stools and chairs so the lines look calm and deliberate
A real example: an agent left three coffee gadgets and a towel on the counter because it looked fine in person. In photos, it read like clutter. Five minutes of clearing made the stone counters and backsplash look like upgrades again.
Fix Light Sources
“Expensive” in a kitchen is often just good light. Mixed bulbs, harsh overhead spots, and one dead fixture can turn a bright kitchen yellow, green, or flat. You do not need to blast the room with every light available. You need consistent light that feels natural.
For many shoots, the best lighting setup for real estate kitchen photos is a balanced mix of daylight plus even fixtures, not maximum brightness.
Before you shoot, do a quick lighting check:
Replace dead bulbs and match color temperature where you can
Turn on under-cabinet lights if they look even and clean
Open blinds for daylight, but watch glare on glossy cabinets
Switch off anything that creates a hard hotspot on the counter
This is a common advantage of Real Estate Photography Bay Area professionals: they notice lighting conflicts fast and adjust so the room stays bright without looking fake.
If you are shooting multiple listings, Real Estate Photography Bay Area teams often aim for consistent color and brightness so every kitchen set feels like it belongs to the same quality standard.
Choose The Best Angle
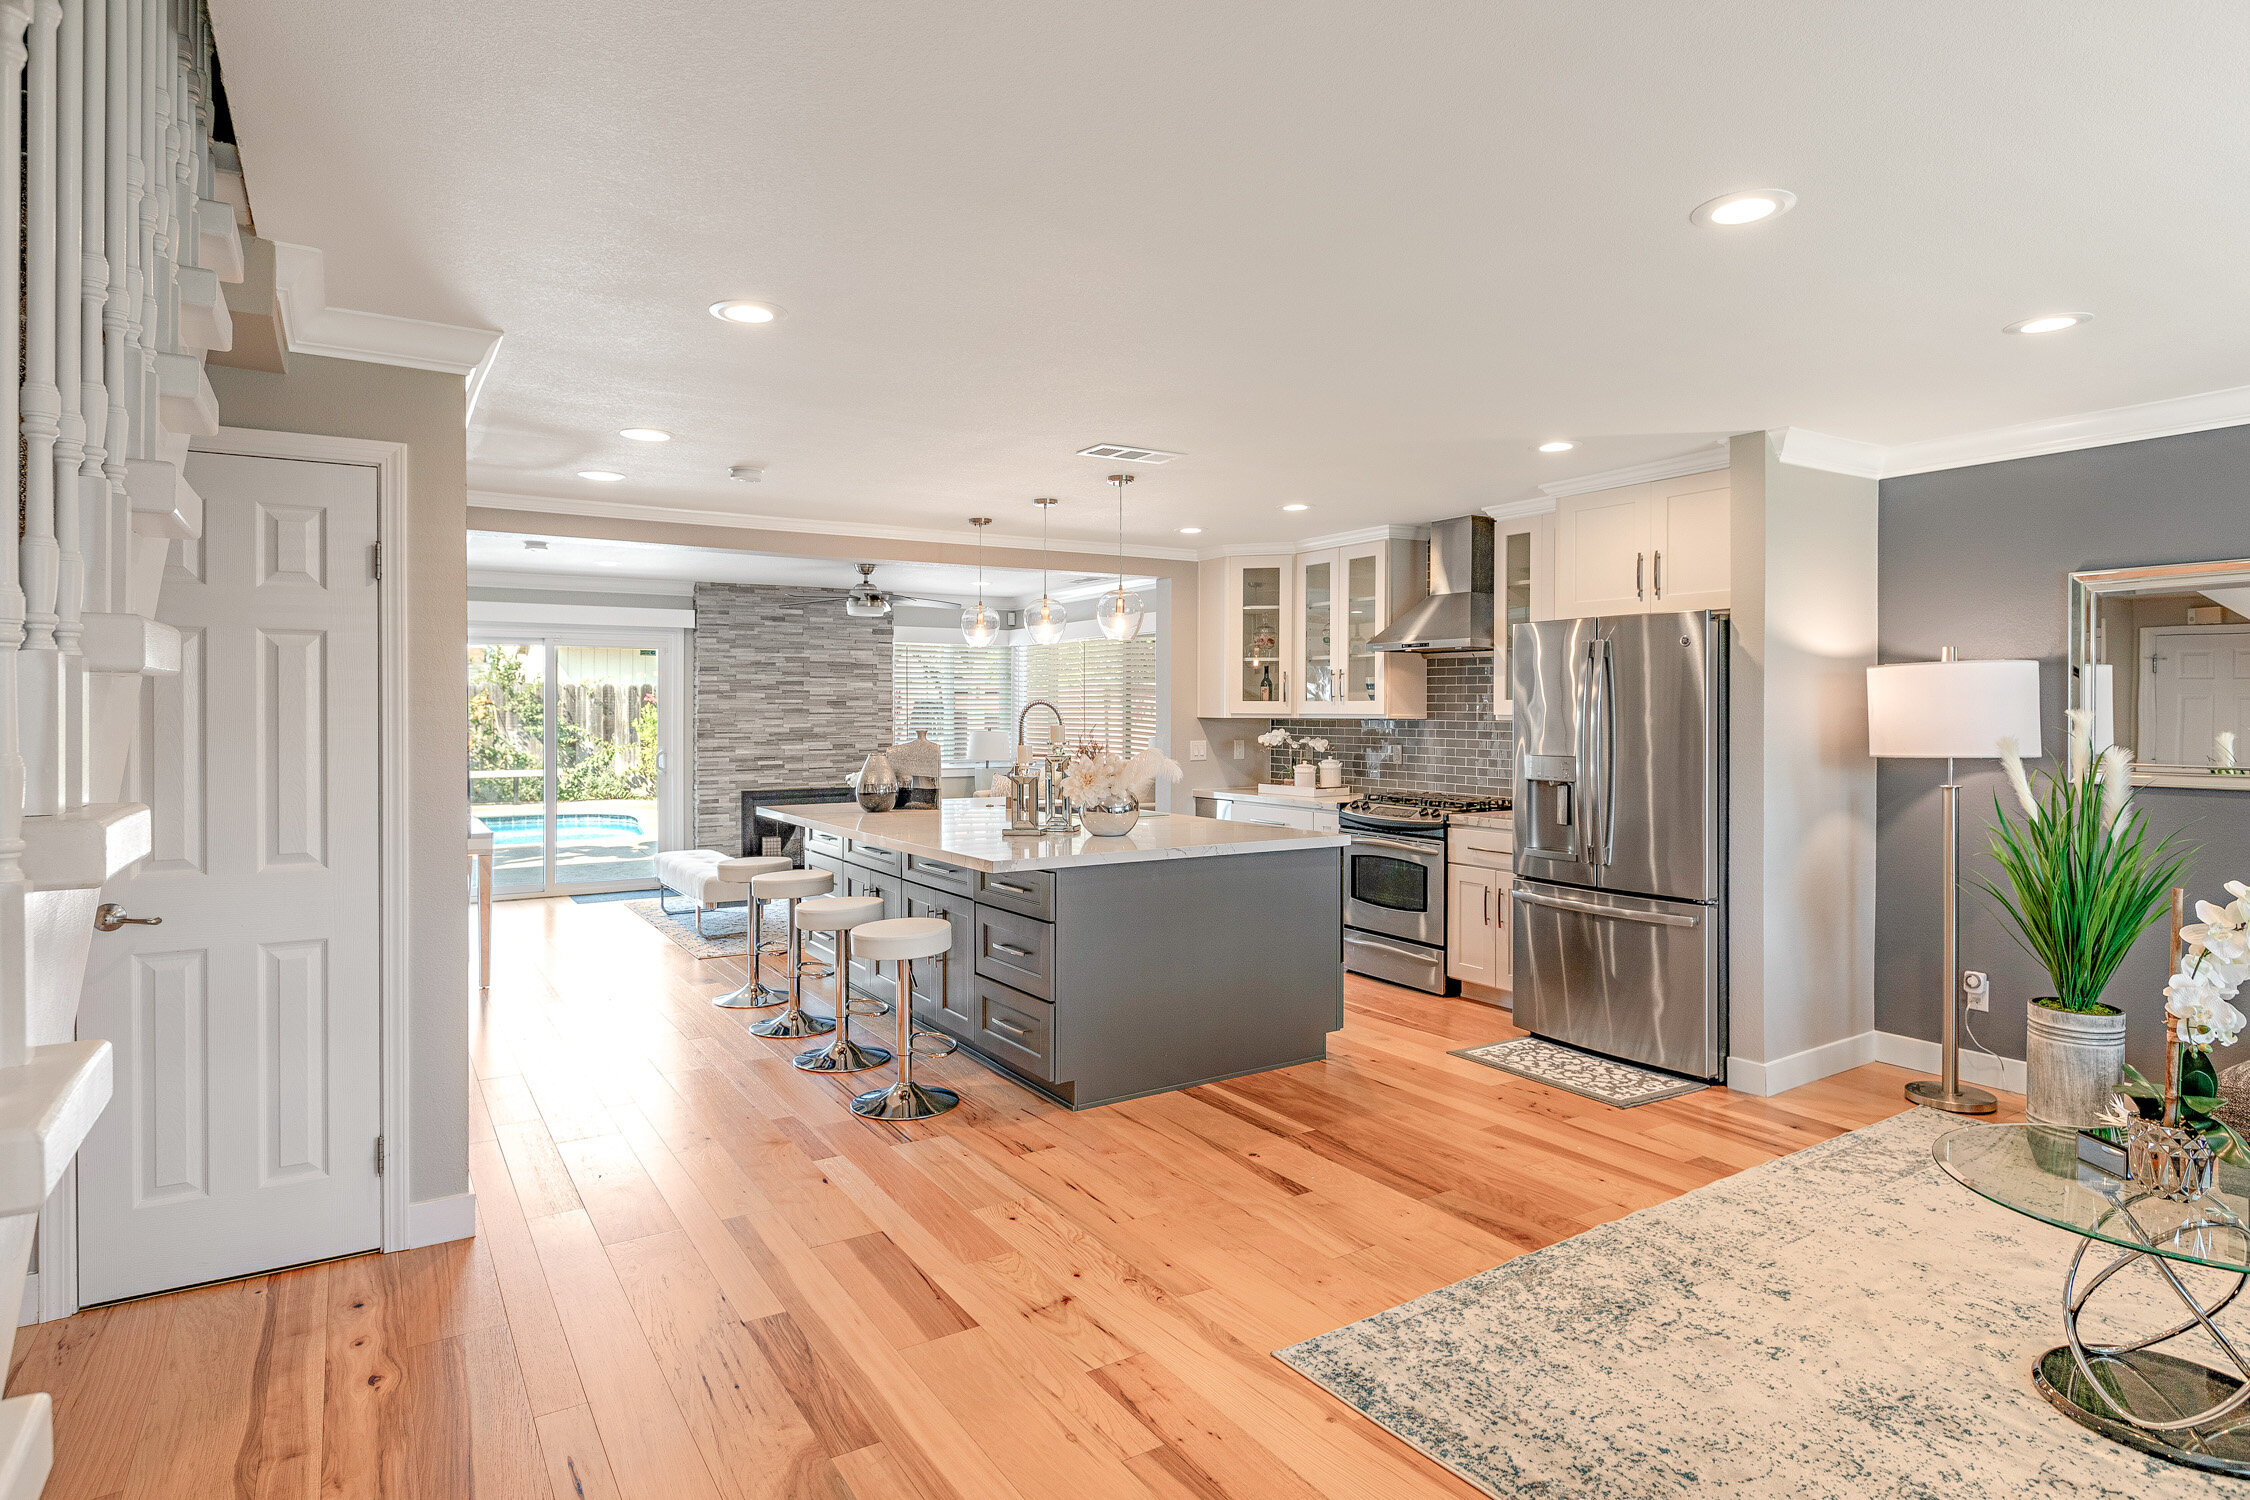
The right angle makes a kitchen feel open and usable. The wrong angle can make it look tight, even when it isn’t. Think like a buyer: they want to understand how the kitchen connects to the rest of the home and where the “work zone” actually is.
Strong angles usually come from:
The kitchen entry, so the flow to dining or living is clear
A corner that shows counters plus the main feature area
A view that includes sink or range without squeezing the frame
For example, a narrow galley kitchen usually looks better from the end, with the lines leading forward, instead of shot from the middle where it can feel boxed in.
What Makes Kitchens Shine?
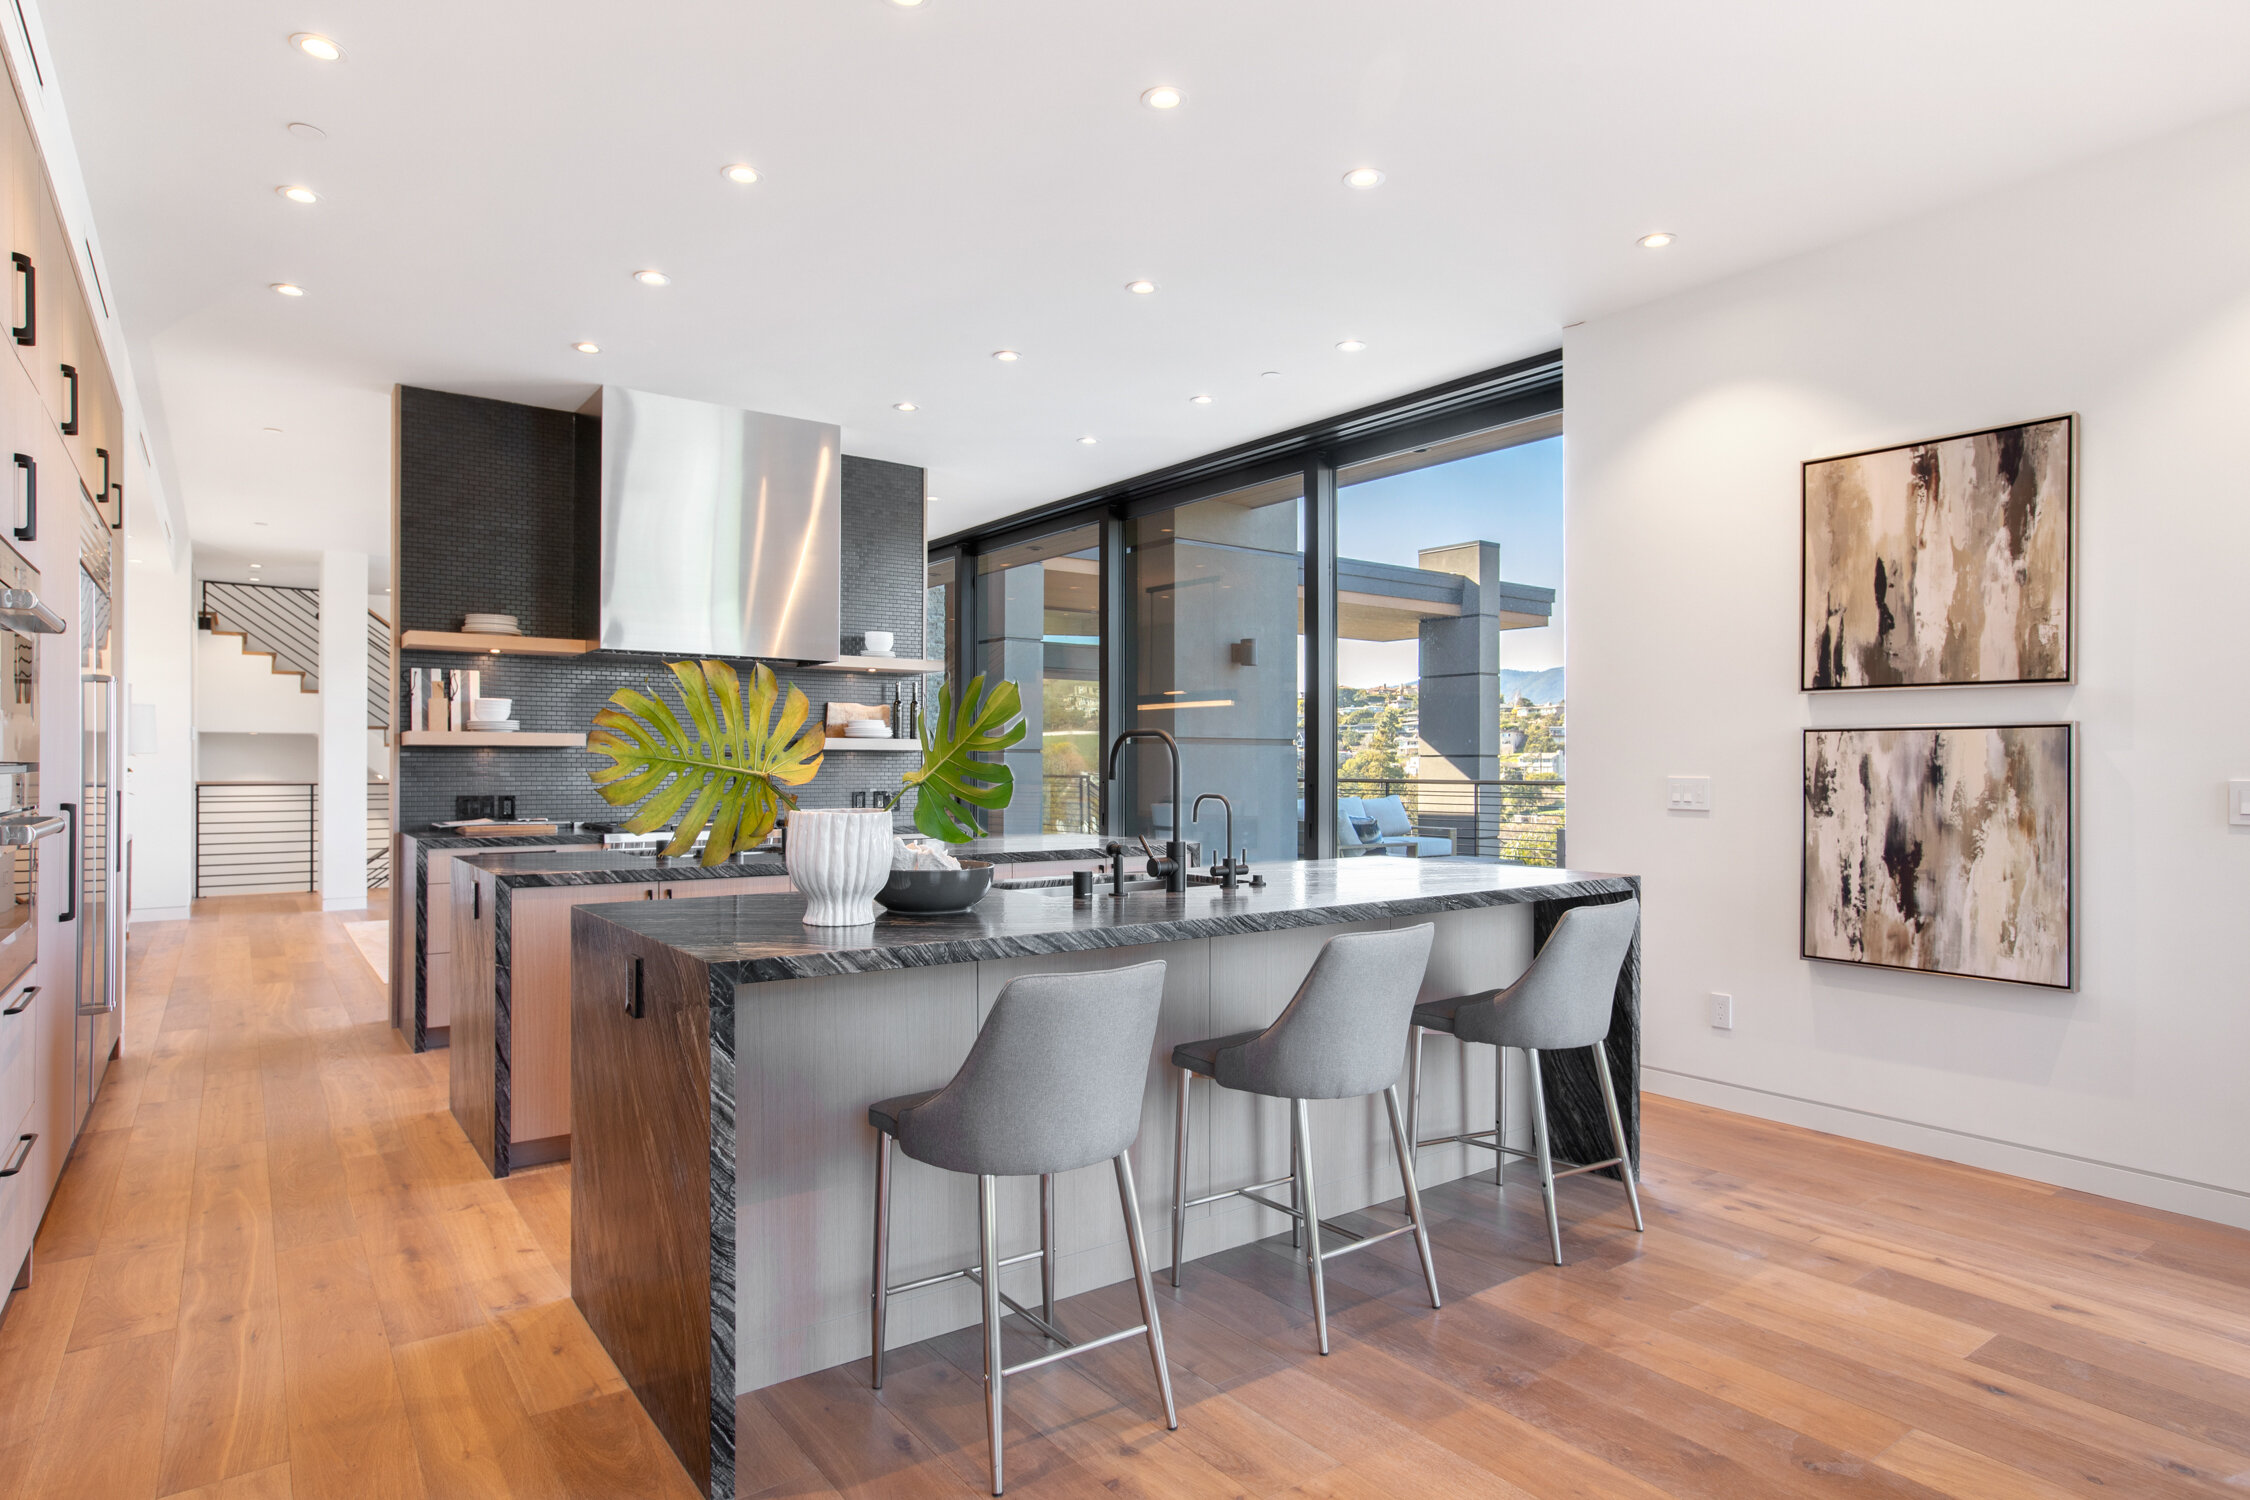
The kitchens that look premium on screen feel calm. The viewer knows where to look, the light feels steady, and nothing distracting steals attention. If the eye keeps jumping around, the kitchen can feel cheaper than it really is.
To create that “shine,” focus on:
One hero feature, like an island, window, range hood, or statement backsplash
Clean reflections on stainless and glossy surfaces
Straight lines along counters and cabinet edges
Even brightness across the frame, not bright corners and dark corners
If you’re working with a Real Estate Photographer San Francisco, ask them to capture a hero angle early because that shot often becomes the listing thumbnail.
A strong Real Estate Photographer San Francisco will also watch reflections in ovens and shiny cabinets, since small glare spots can make a clean kitchen look messy on camera.
Style Without Overdoing
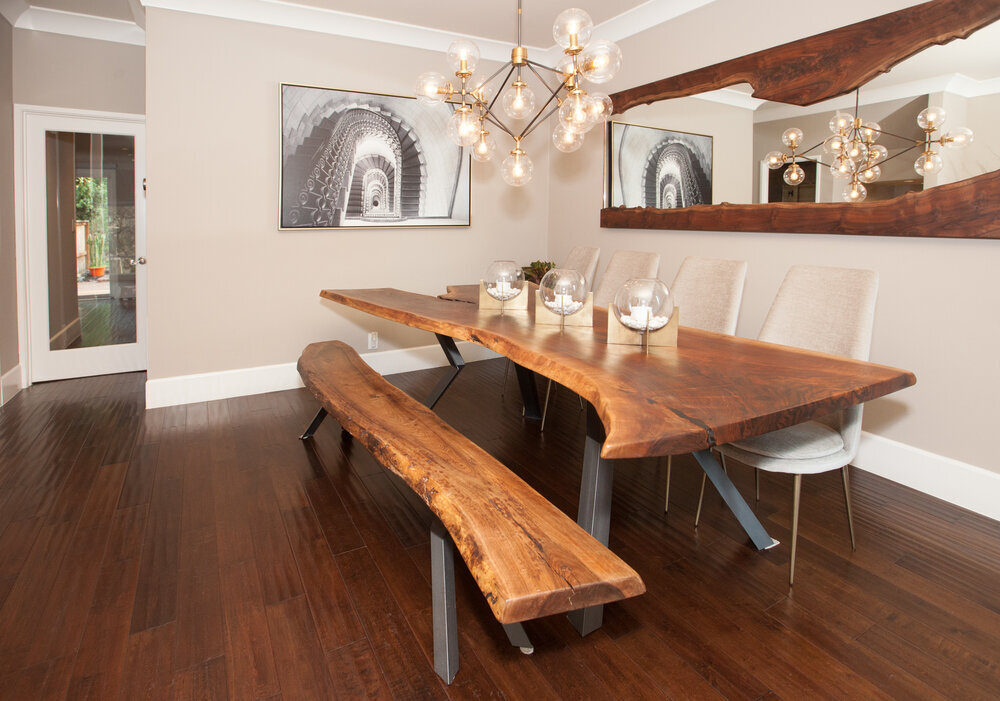
Styling is not about adding more décor. It is about taking away distractions and leaving one or two cues that make the kitchen feel “ready.” Buyers respond well to spaces that look lived-in in a tidy way, not staged to the point of feeling unrealistic.
A practical kitchen photo prep checklist for listing day is simple: clear counters, hide cleaning items, align stools, wipe stainless steel, and keep one small accent that feels natural.
A real example: in one condo, the “expensive” difference was just a wiped fridge front, a cleared sink, and one clean cutting board near the range. Nothing fancy, but it photographed like a well-kept kitchen.
Capture The Details
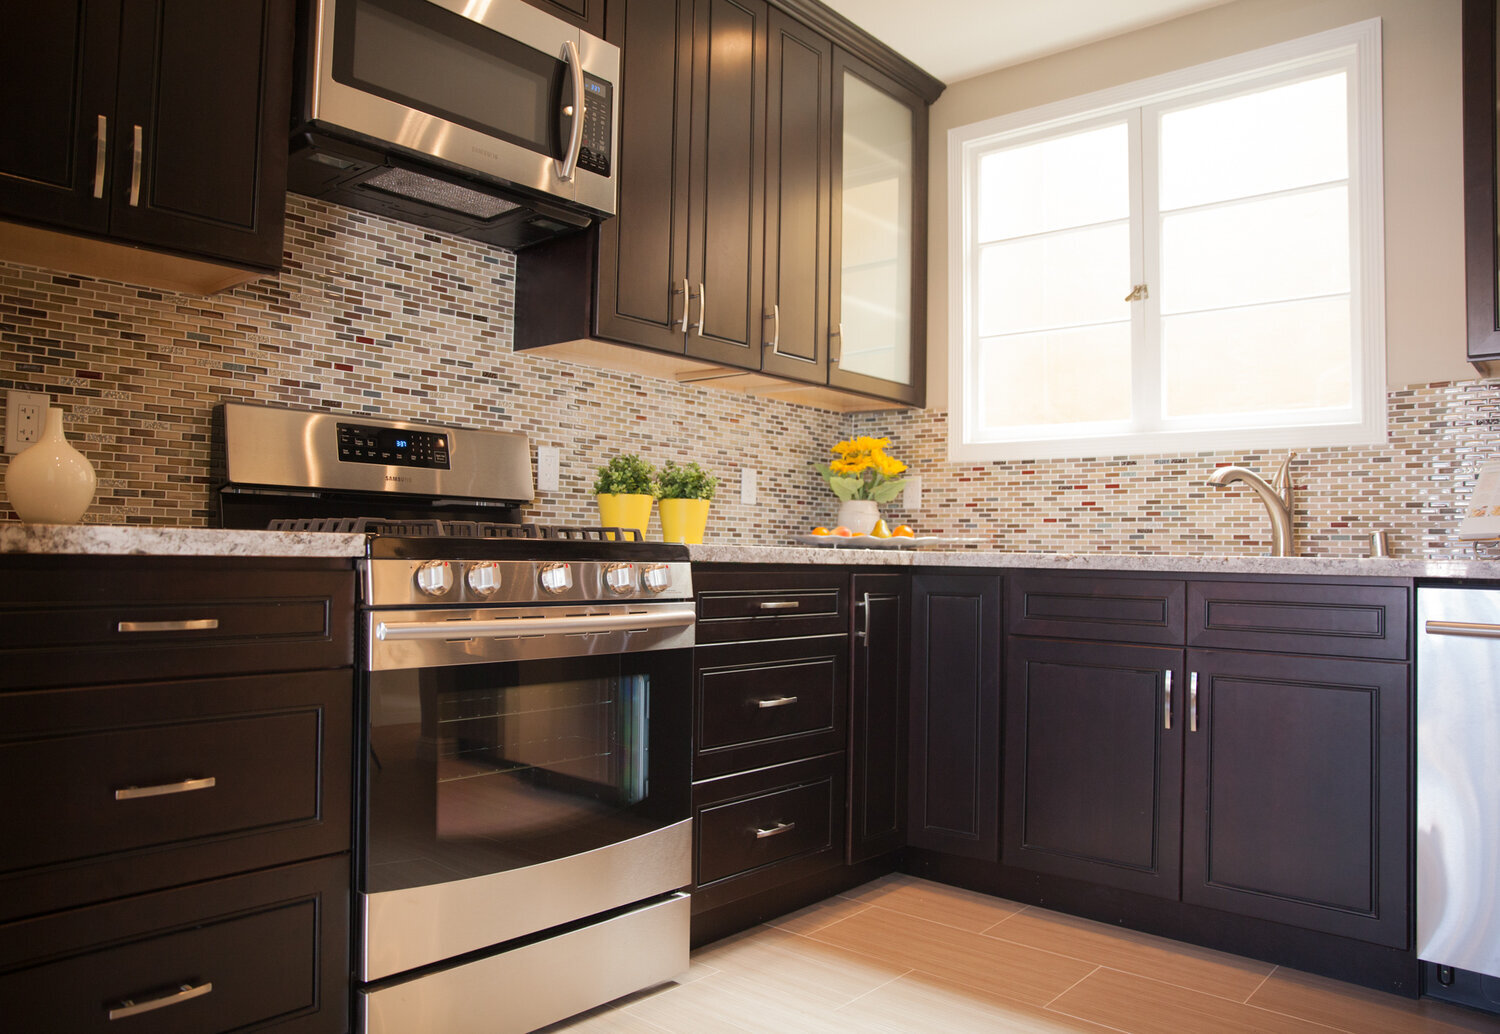
Once you have the wide shots, a couple of detail images can add trust. They should support the story, not replace it. If someone still does not understand the layout, details will not save the set. But once the space is clear, details can highlight what makes the kitchen feel upgraded.
Good detail choices include:
Faucet and sink area, if it is clean and uncluttered
Range or cooktop, especially if it is a premium finish
Lighting fixtures, if they are truly a selling point
A tidy pantry or built-in storage moment
Keep these later in the sequence so buyers understand the room first. That is how Real Estate Photography San Francisco stays both attractive and believable.
A Kitchen That Performs
A bright, clean kitchen photo is not about making the room look unreal. It is about helping buyers understand the space fast and trust what they see. When counters are reset, light stays consistent, and angles show flow, kitchens read more expensive online, even in smaller homes. These images then do real work across MLS galleries, email campaigns, social posts, and agent presentations.
And at Slava Blazer Photography, our team approaches kitchen photos with a calm, marketing-aware process, starting with a hero angle, managing light and reflections, and delivering a sequence that looks premium while still staying honest. If you want a kitchen set that improves clicks and saves without looking over-edited, reach out for a quick quote and a simple shoot plan.
Frequently Asked Questions
Should I photograph the kitchen with all lights on?
Usually, yes, but only if the lights look clean and consistent. Turn on fixtures that add even brightness, like recessed lights and under-cabinet strips, and switch off anything that creates harsh glare or strange color. If your bulbs don’t match, it is often better to turn off the worst offender and lean a bit more on daylight. The goal is a kitchen that looks bright and accurate, not one that looks artificially lit.What is the fastest way to make a kitchen look cleaner in photos?
Start with the counters and the sink, every time. Dish racks, soap bottles, and random small items become visual noise on camera and make the room feel less premium. Next, wipe stainless steel and glossy cabinets so smudges do not show, and straighten stools so the scene looks intentional. Those few minutes usually do more than adding décor ever will.Do wide-angle lenses make kitchens look misleading?
They can, if they are too wide or used from the wrong height. A slightly wider view is useful for showing flow, but extreme wide angles stretch edges and can make cabinets look distorted. The safest approach is a natural height, straight vertical lines, and an angle that shows depth without bending corners. If buyers feel the photo is “too wide,” trust can drop quickly.Should I include close-up shots of appliances and finishes?
Yes, but only after you have your main wide shots. Two or three detail images can highlight upgrades like a high-end range, modern faucet, or clean backsplash, and they help buyers feel the home is well maintained. Keep them minimal and make sure the surfaces are spotless, because messy details can backfire. Details should feel like proof, not filler.How many kitchen photos should a listing include?
Most listings do well with three to six kitchen photos. One hero angle, one that shows connection to the next space, and one alternate view often cover the layout, then one or two detail shots can add polish. Too many similar angles can feel repetitive and reduce momentum in the gallery. Variety matters more than volume, as long as each image adds new information.
